Brief Summary
Get ready to dive into normal map baking and learn how to texture a sci-fi floor! This course covers everything from creating maps in Photoshop to setting up materials and lighting in UDK. It's all about hands-on learning for high-quality game assets.
Key Points
-
Normal map baking in 3ds Max
-
Creating color and specular maps with Photoshop
-
Using Render to Texture for selection masks
-
Setting up materials for game assets
-
Adding lights and decals in UDK
Learning Outcomes
-
Master the normal map baking process from high poly models
-
Texture a sci-fi floor complete with details
-
Create and apply materials inside UDK seamlessly
-
Utilize selection masks effectively
-
Implement lights and decals for added realism
About This Course
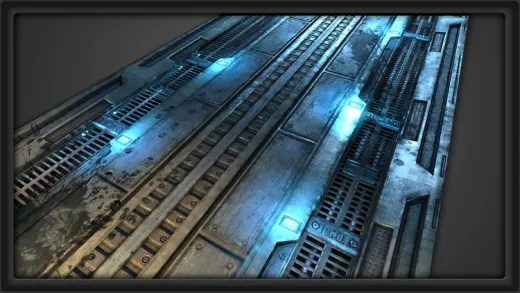
Learn normal map baking in 3ds Max and get a crash-course in materials inside UDK as we texture this sci-fi floor!
Starting with the normal map baking process in 3ds Max, we'll create a color and specular map using Photoshop, use selection masks created with Render to Texture, set up a material for the floor piece, and finally add some lights and decals when we put it all together inside of UDK. With lots of great tips and practical hands on techniques, this video serves as a great workflow tutorial for high quality game assets.
About the Instructor:
Mike Snight is the Co-Founder/Owner of 3dmotive.com. He currently works at Irrational Games as a Senior Level Artist, and contributed heavily to the production of the smash hit Bioshock: Infinite. Mike is a long-time fan of the BioShock series and a 2008 Game Art and Design graduate from The Art Institute of California—Los Angeles. Mike has also contributed to the Activision titles Transformers: War for Cybertron, and Transformers: Dark of the Moon.
Learn how to bake normal maps from a high poly model
Learn to texture the sci-fi floor from start to finish
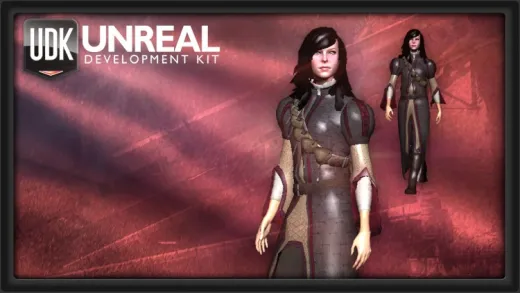
Learn to create the material inside of UDK as you see here


Luke J.
A good course that quickly goes through the workflow of implementing a modular asset into udk3. Doesn't show the modelling side, and it doesn't hold your hand with each step. I understood what was going on for all of the tutorial, but I didn't understand how somethings were achieved. For an accelerated look at workflow, this is a good guide.